How to Use Eseutil /p Cmdlet to Repair Corrupted EDB? Complete Solution


Corruption issue in Exchange Server is one of the major concern nowadays. As Exchange database is the main repository of the severe and it is prone to corruption. If any mailbox database gets corrupted then users cannot access it because it becomes inaccessible. Then they cannot receive and send mails and do other function. It also disrupt the workflow of users. That’s why it is necessary to repair the database. Here, in this write-up we will provide solution and guide users for how to use eseutil /p cmdlet to repair damaged and corrupted mailbox database.
Many IT companies and other industry verticals use Exchange Server around the world for business as well as communication purpose and because of corruption issue there are chances that they may lose Exchange data. Then, they have to face the consequences of losing data such as:
- Heavy financial loss
- Losing client & users trust
- Company growth lower down
- Have to face legal charges and penalties
- In worst case, they may run out of business
To avoid all this repercussions it is important to repair EDB from corruption. Before moving towards the solution let’s know the reason behind how corruption occurs:
- Exchange Server sudden shutdown
- Virus Attack
- Human Error
- Due to unauthorized third party software
- Hardware and software failure
- Exchange database missing objects
- Storage space issue in MS Exchange
Manual Method for How to Use Eseutil /P Cmdlet
The eseutil /p command repair the Exchange mailbox database at the page and table level. It repairs the database & makes it accessible to the users. It removes the corruption from the file & replaces all the corrupted data with white spaces.
Pre-requisites:
- Login as MS Exchange admin
- Take the backup of the existing Exchange database
- Dismount the EDB by using the Microsoft Exchange Server
- Move the unnecessary files and folders
- Requires enough storage space
- Test the hard drive for bad sectors via check disk utility
How to Use Eseutil /P Command to Repair the Mailbox Database?
1. Execute the cmdlet given below to repair the database
Syntax:
eseutil /p “enter-file-path\database_name.edb”
After executing the command a warning dialogue box will appear to proceed click on the OK button.
2. Then, enter the cmdlet given below to perform the defragmentation and rebuild indexes. It removes the empty pages in the EDB file & rebuilds its indices.
Syntax:
eseutil /d “insert-file-path\database_name.edb”
3. After that, insert the Isinteg command to fix the logical corruption and repair the Exchange mailbox database at the application level.
Isinteg -s (SERVER) -fix -tests alltests
4. Then, select the recover Exchange database from the Microsoft Exchange Server directory
Drawback Of Manual Method
- Time-consuming solution & requires ample amount of storage space
- Risk of data loss which is permanent and it cannot predict that how much data is lost
- It requires in-depth knowledge, technical skills, and hands-on experience
Note: Most of the users are new to the Microsoft Exchange Server environment it is not easy for them to understand the manual solution. So, to avoid this technicality & complexity of this method users can use the advanced solution provided below which easily repair the corrupted offline/dismounted EDB file in a simplified manner.
Automated Wizard to Repair the Corrupted Offline Exchange Database File
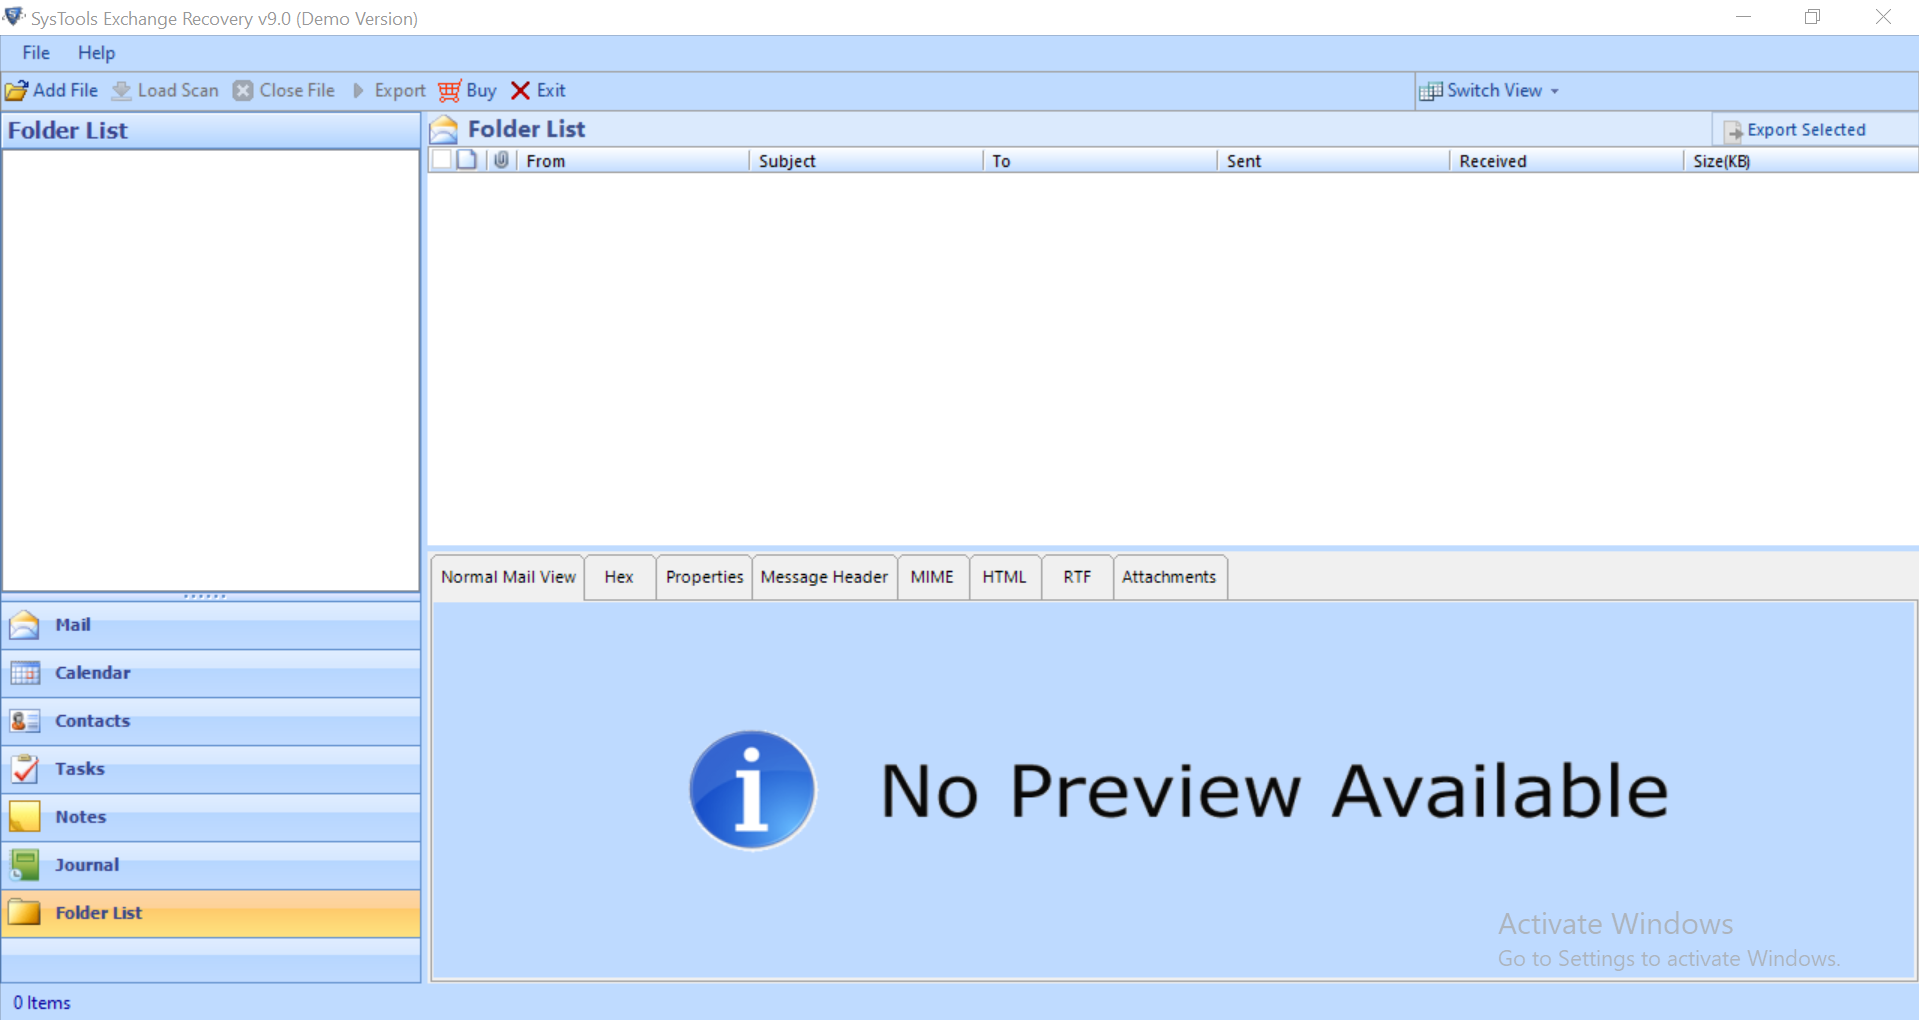
Users can use the SysTools Exchange Server Recovery Tool which supports Dismounted / Offline Exchange database file and used by many IT professionals, Exchange and Novice users to recover and repair the Dismounted / Offline corrupted .edb file in a simplified manner without using any command.


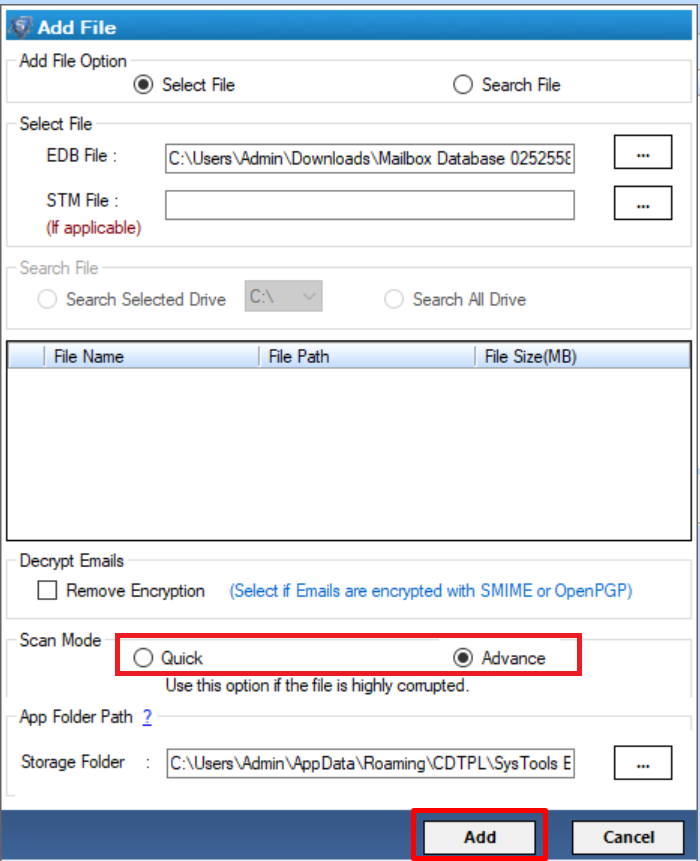
This utility provides Quick and Advance scan mode which repairs the corrupt EDB file from corruption in a hassle freeway. Depending on the level of corrupted Exchange database select this option. To repair the minimal corrupted EDB file select the Quick scan and for highly corruption click on Advance scan mode.
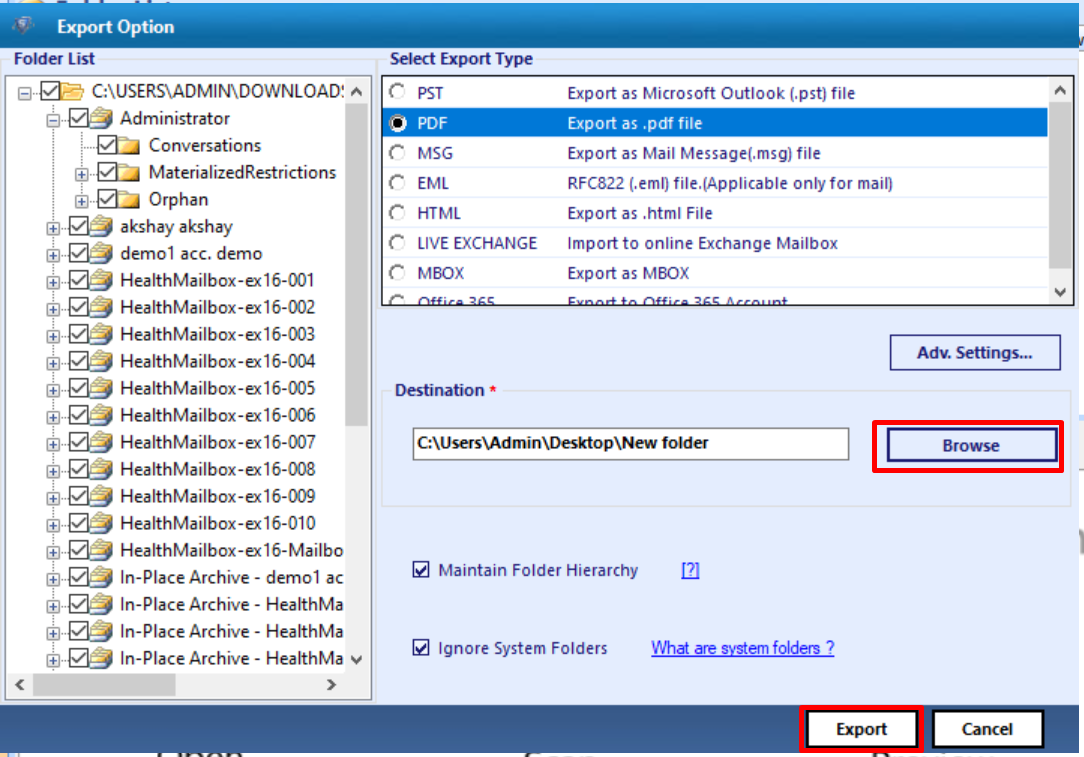
Users can export the recovered mailboxes directly to the Live Exchange Server 2016 / 2013 / 2010 / 2007 / 2003 mailboxes, Office 365, and multiple file formats. It creates an export report which saves the success and fail count of exported Exchange mailbox data in CSV file format.
Notable Features Of Automated Software
- Support Offline/Dismounted EDB and STM file
- Preview mailbox items before conversion
- Maintain actual folder structure and keep metadata intact
- Remove email (SMIME/OpenPGP) encryption from Exchange database mailboxes
- Categories option export selective EDB mailbox data items
- Export Exchange data within specified date range via date filter option
- Suitable with all Microsoft Outlook, Exchange Server, & Windows OS version
Working Step to Repair the Offline Exchange Database from Corruption
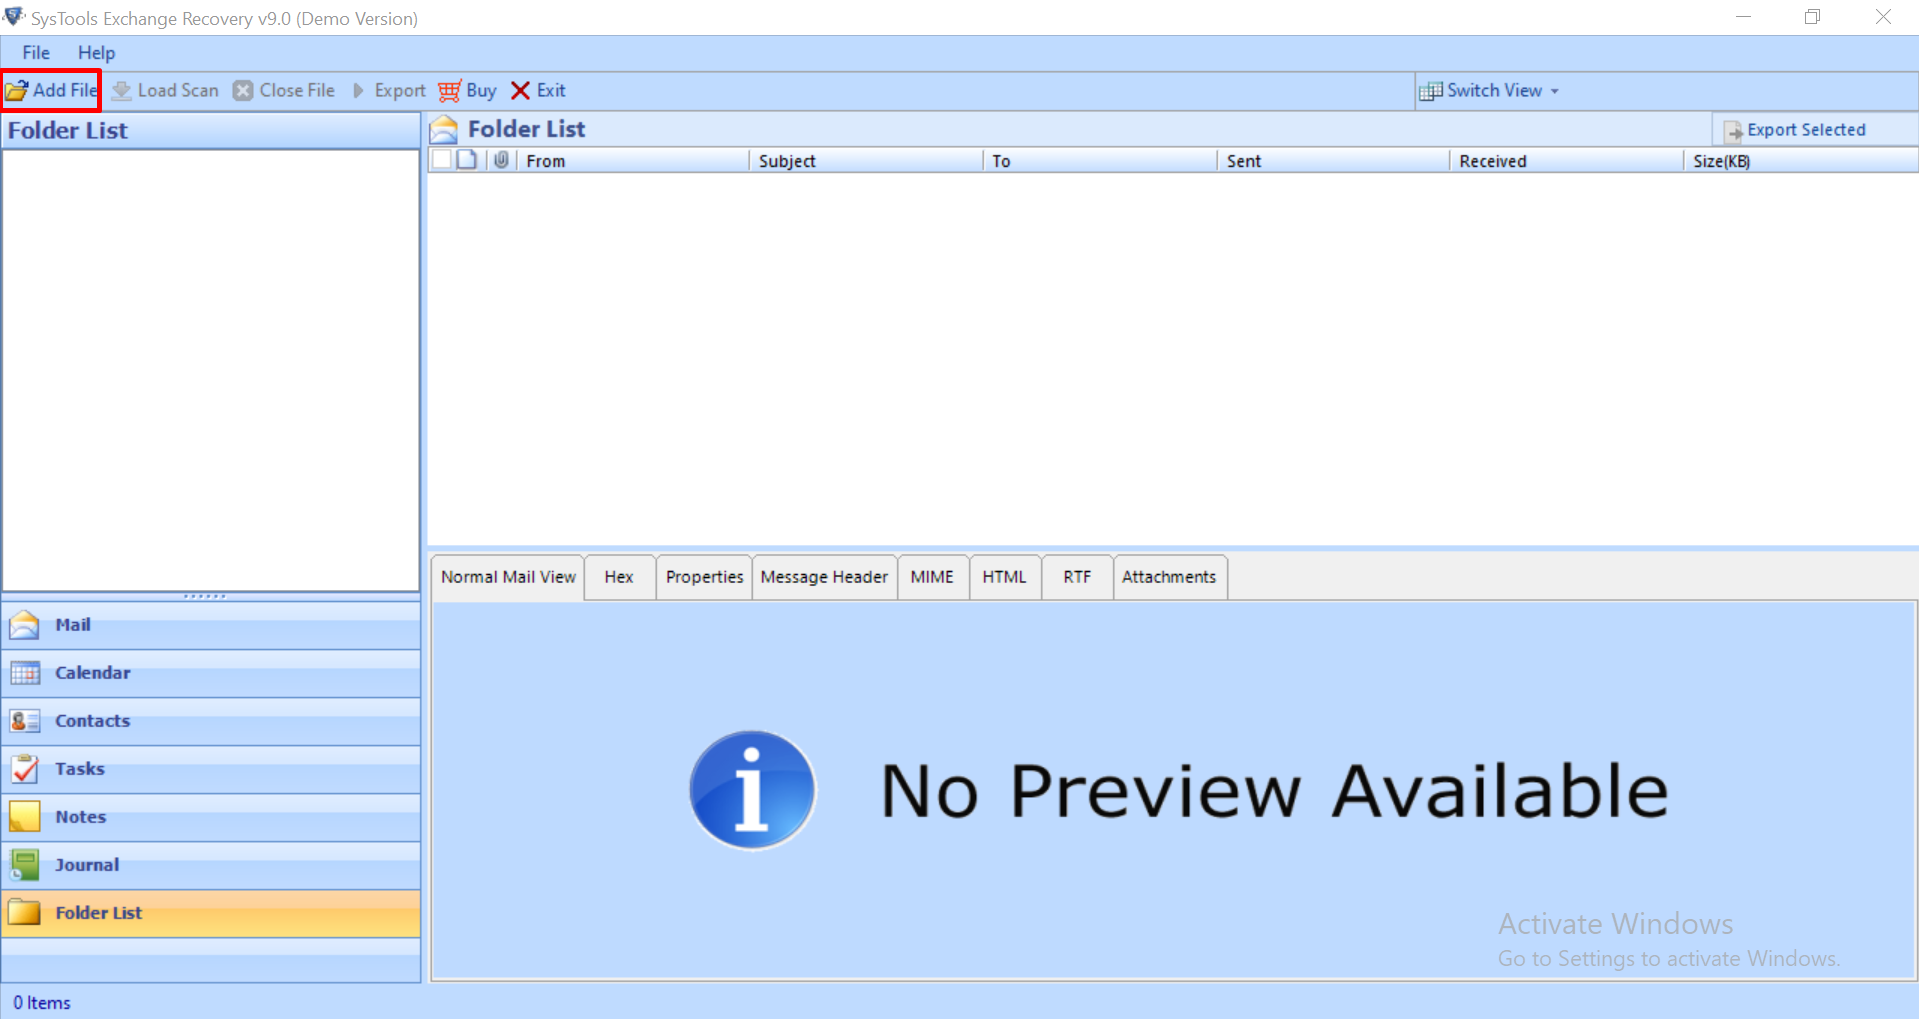
1. Download the software and run it on your local machine
2. Select Add file button and load offline corrupt .edb file
3. Click on Advance scan mode >> Select the Add button
4. Preview the recovered EDB file and mailboxes >> Click on export button
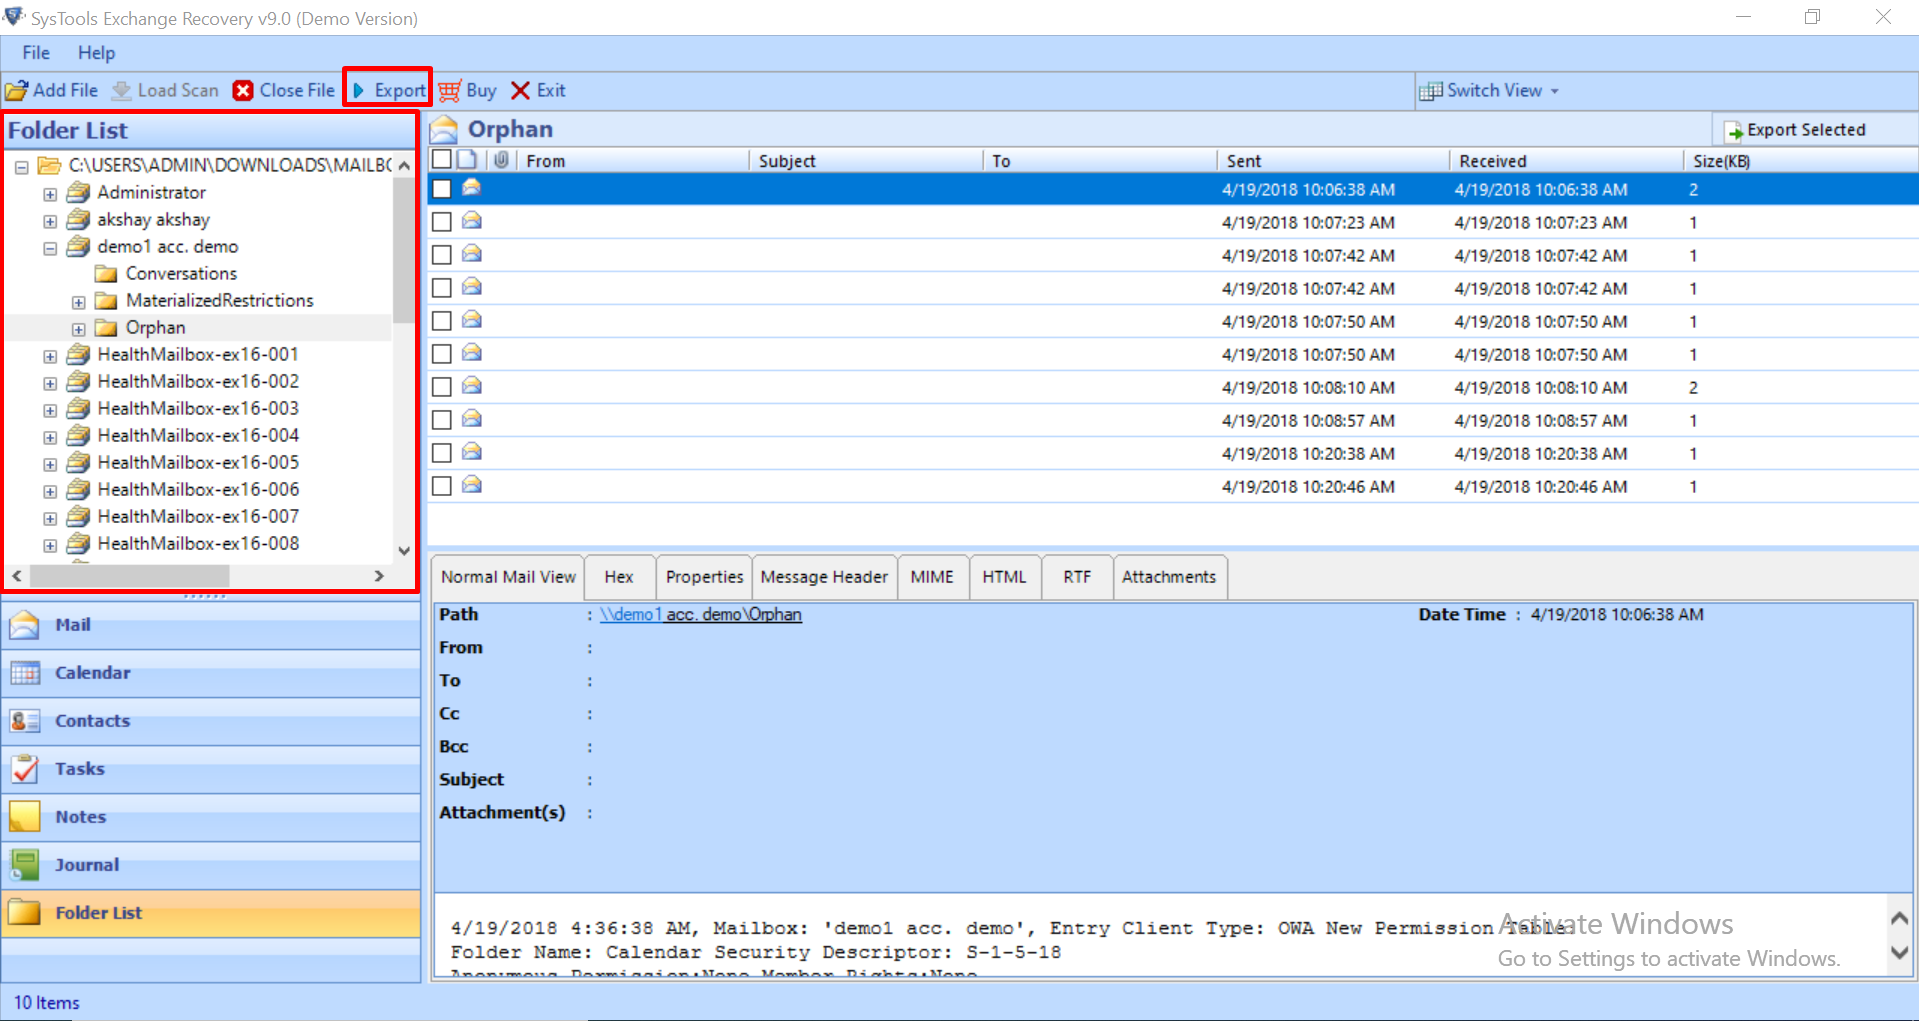
5. Select the mailboxes and export it to the desired export option
Bringing It All Together
Now users have detailed information on how to use eseutil /p cmdlet to repair the damaged and corrupted Exchange database by using the solution described here. If you want to avoid the complexity and technicality of this method you can use the advance solution method above which easily repair the minimal and major corrupted offline/dismounted EDB file in a simplified way without hassle. Rest, according to your preferences you can select the solution provided here.