Move Office 365 Mailbox to On-Premise – Expert Method
To move Office 365 mailbox to On-premise is always a tough nut to crack because Office 365 and Exchange Online both are subscription-based services. Whereas Office 365 provides several applications for a business like Skype, MS Office, etc. On the other hand, the Exchange server offers the ultimate support to interconnect with local networks.
There is no direct method to transfer the data items into the Exchange server. You have to export the Outlook accessible file from Office 365 and then one can easily import that file into On-premise Exchange account. Now we have two methods to migrate Office 365 to On-premise Exchange execute these tasks mentioned below, read them out one-by-one and choose accordingly.
Method 1: Move Mailbox to On-premise using PowerShell
Method 2: Automated tool to Export Office 365 Mailbox
User Query: It has become difficult for me to find an easy solution to export my Office 365 mailbox and all its data to On-premise server. I do not have the technical knowledge which, apparently, is pretty important for executing manual methods. Is there any better and easier solution for users like me? Please help!
Move Office 365 Mailbox to On-Premise Via Converting to PST Using PowerShell
For this, you need to know about your Office 365 admin account details and the user account details, from which data is extracted, lastly, the user account which is used for extraction. Now follow the steps one-by-one mentioned below to move mailbox to On-Premise.
PowerShell Commands
- Open PowerShell and run the command below to connect it with the Exchange server
$UserCredential = Get-Credential
- Now, use this command to export emails into PST format
“$Session = New-PSSession -Configuration Name Microsoft. Exchange -ConnectionUri https://mno.office365.com/powershell/ -Credential $User Credential -Authentication Basic –Allow Redirection”
- To migrate Office 365 to On-premise Exchange, authorize the mailbox by providing access to them
“Add-Mailbox Permission – User xyz -Identity abc -Access Rights Full Access -Inheritance Type All”
- Afterward, Configure a New user account in Outlook
- Finally, Export the PST file from MS Outlook
Open MS Outlook >> File >> Open & Export >> Import / Export >> Select Outlook Data file >> Next
- Browse the destination folder for the resultant file and hit the finish button
- Once the process is completed follow the below commands to remove the permissions to move Office 365 mailbox to On-premise.
“Remove-MailboxPermission -User abcd@sample.onmicrosoft.com -Identity mno@sample.onmicrosoft.com -AccessRights FullAccess”
- At last, enter the final command to close the PowerShell Session
“Remove-PSSession $Session”
This is how one can export the PST file from Office 365 using the PowerShell method.
Method 2: Automated Tool to Export PST file
The most simplest and reliable solution permits the user to export the Outlook Data file from Office 365 in a trouble-free manner. The automated tool is tested and verified by our experts and permits the user to migrate Office 365 to On-premise Exchange by exporting emails into PST, MSG, MBOX, EML, EMLX file format.
Download the software for Windows OS by using the given links:
The tool also supports the incremental backup option and authorizes the users to download selected data. Using this feature, you can scan your mailbox after the first process for new data and export only those emails. Read the below section to know the working of the tool.
Working of Backup Tool to Move Office 365 Mailbox to On-Premise
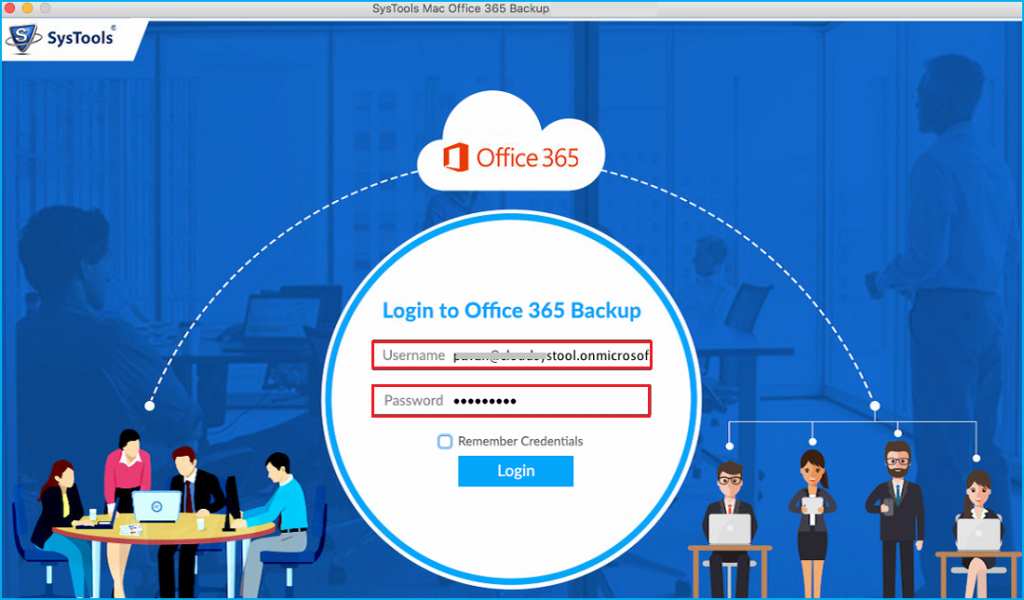
- Download and install the Office 365 Backup tool
- Enter the Office 365 user details to the software

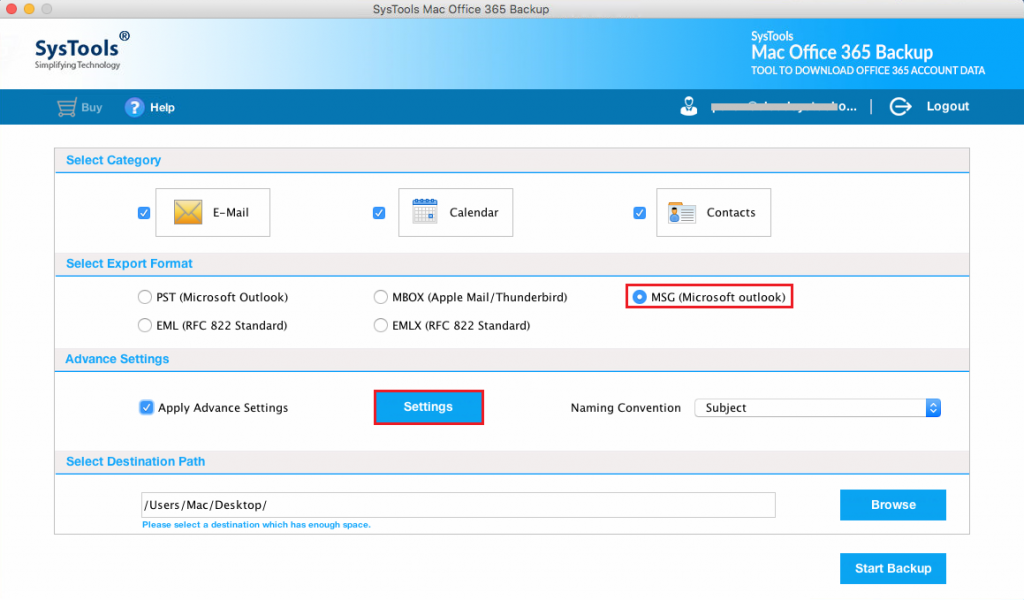
- Now, Select PST file format form Export Type

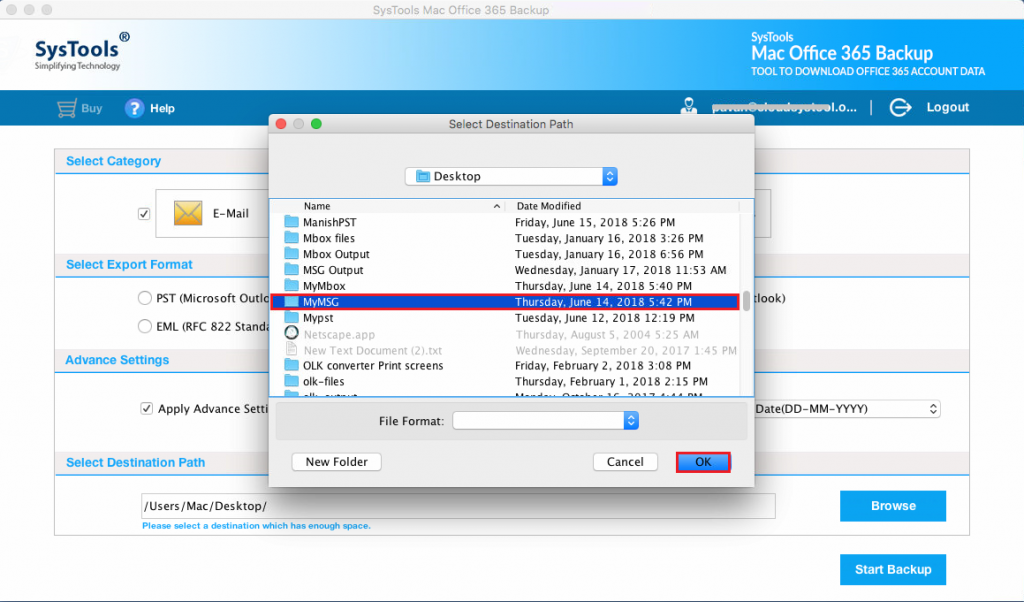
- Browse the destination folder for the resultant file

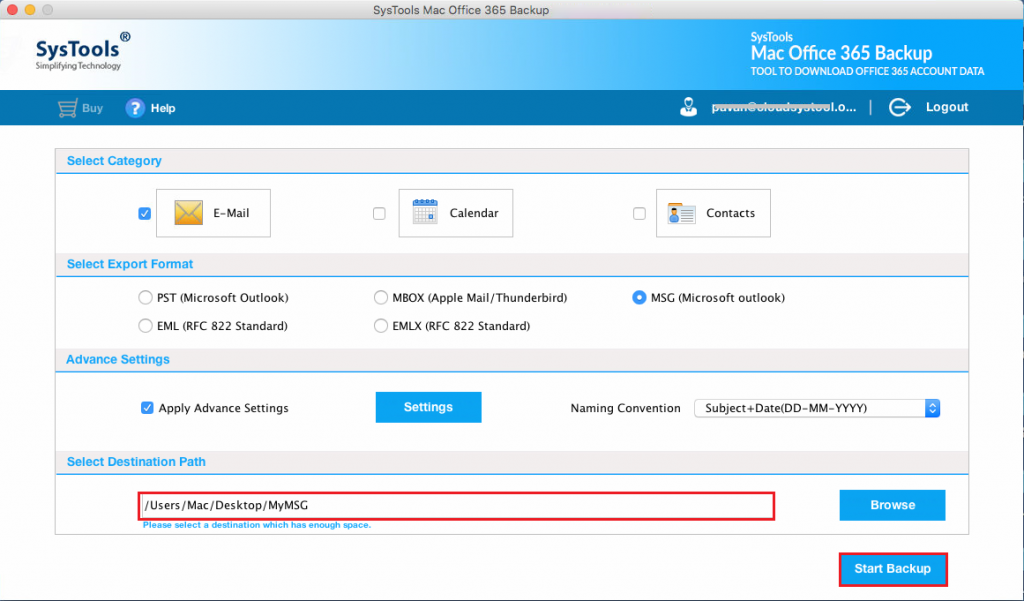
- Hit the Start Backup button to initiate the process

Wait for a while as the software completed the process go to the destination folder and access the resultant file. The tool additionally assists you to migrate from Office 365 to Zimbra effortlessly.
Now we have the resultant file and need to import that Outlook data file into Exchange Server to complete the process.
Import PST File into Exchange Server to Migrate Office 365 to On-Premise Exchange
Final step by importing the Outlook supported file into the Exchange server. Follow the steps mentioned below to accomplish this task.
- Enter this command by changing your path where you saved the PST file like we used the path
#New-MailboxImportRequest-FilePath<\\MyPC\Path\data.pst
Once the file is uploaded to the server check the folders and data carefully. This is how one can easily move Office 365 mailbox.
Summarizing Up
There are two methods to export the data from Office 365 mailbox that are the most useful and the easiest methods. We have described both the methods to move Office 365 mailbox to On-premise but we advise you to opt for the automated solution.
The manual method is very complex for non-technical users and only a single account can be exported at once. On the other hand, the the automated tool is designed in such a way that even a non-technical guy can easily access it.


