How to Split Outlook PST File by Year? Best Techniques


Are you still looking for a way to split Outlook PST file by year? If So, then you’ve come to the right page. In this post, you will learn the amazing and easy way to break PST by year, as per your choice.
Large PST files are difficult to manage, especially when they build over time. To ensure efficiency and minimize data loss, oversized PST files are frequently divided into smaller, more manageable parts. In this article, we will look at how to split PST files based on year, size, and date. thus allowing you to organize and manage your Outlook data more efficiently.
Why Need to Split Outlook PST File by Year?
Although shredding large PST files is necessary for the smooth functioning of MS Outlook, it has many benefits for everyone. Oversized PST data files can cause many problems. Therefore, we suggested that all Outlook users keep their Outlook data files within reasonable limits. Below are some of the most common ways to break large PST files into multiple PST files.
- Avert Outlook Errors: dividing PST files prevents multiple Outlook problems caused by large PST files, such as Outlook data files that are too oversized to open.
- Improved Outlook efficiency: MS Outlook works more efficiently when the Outlook data file is smaller because it has more free space.
- Quick Sharing: Another benefit of splitting a large PST file into several smaller files each year is that you can easily share the files without having to send all the data.
- Easy Data Recovery: If data is lost or corrupted, this smaller PST file can help you recover emails quickly and efficiently.
Here are some reasons why you should split your PST file by year: Now let’s see various methods to split a large PST file into several smaller files.
Manual Method to Split PST File by Year-Wise
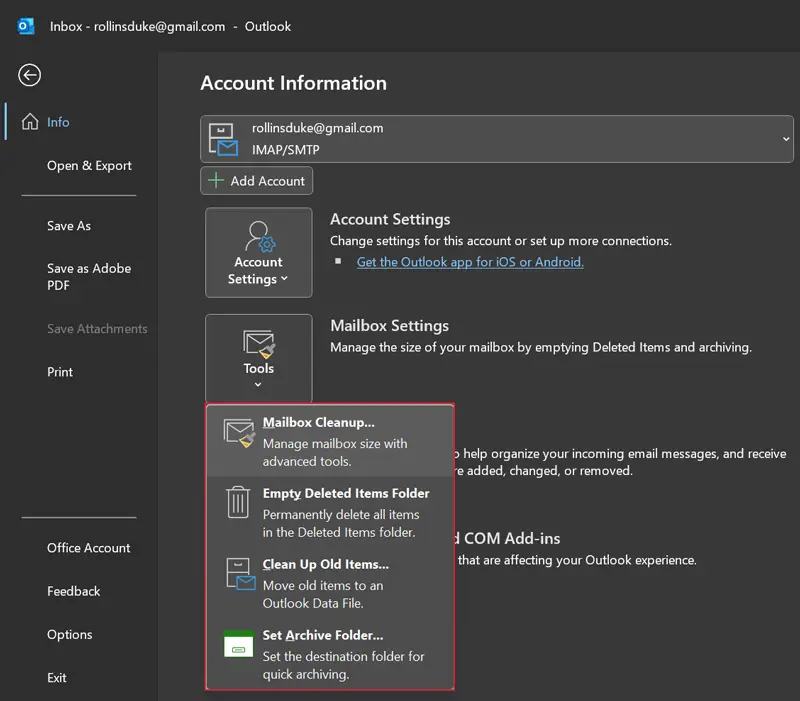
1: Open or Launch Outlook on your computer.
2: Select the file and click on the Details tab.
3: Select “Cleanup Tool” >> “Archive“.
4: Enable the Archive folder & all subfolders.
5: Enter the year or date in the “Archive previous items” section
6: Next, check “Automatically include non-archive items”.
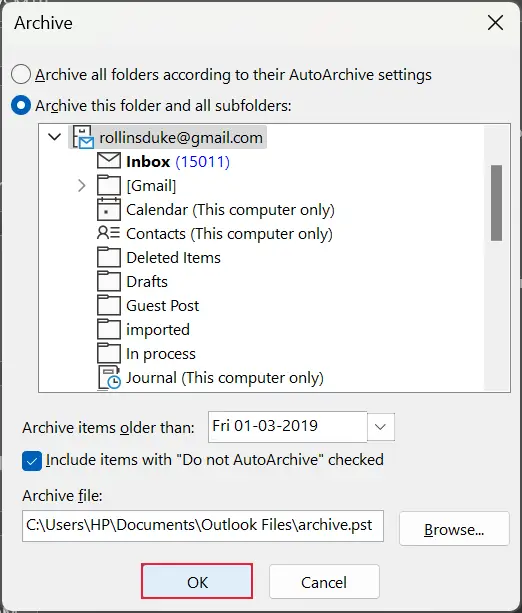 7: Select the destination and click “OK“.
Note: Please note that you must delete all items older than the selected year manually, as large files will crash Outlook. Follow the steps above to split PST files from later years, such as 2016 and 2017.
Limitations of the Manual Method
While the manual method can effectively split PST files by year, it has some limitations:
- Non-technical users may find it difficult to use this method as it requires some technical knowledge.
- The manual method is complex and requires a lot of time and effort.
- Data loss is a common risk associated with manual methods.
- There is no guarantee of successful partitioning of PST files per year.
Best Alternative Solution to Split Outlook PST File by Year
The PST Split Software is the most reliable and efficient solution to split PST files by year. Also, it can corrupt Outlook PST files based on size, sender, and mailbox folder. This program is capable of splitting multiple PST files simultaneously without compromising their data integrity.
Most importantly, It supports Outlook PST files created by any version of MS Outlook. Also, it runs fast on all Windows computers. This application allows you to divide Outlook inbox size easily and accurately by dividing PST files by years and using other filtering options.
Also Read: How to Fix PST Exceeds Size Limit Issue?
Split Outlook PST File by Year in Few Clicks
Users can check out the step-by-step guide to split PST file below:-
- The first step is to install the Split PST software on your system and then launch it.

- Use any of the buttons – “Add File, Add Folder, or Search File” to add the Oversized PST file.

- Click on the “Add File” button, select the PST documents and go to the “Open button”.

- Add any folder which has large PST files, by using the “Add Folder” option and tap on the “OK” option.

- Users can find the “PST” file by applying the “Search Files” option if the user doesn’t know the path of the PST files.

- Delete the PST files from the panel by using the “Remove or Remove All” option.

- After adding the PST documents, hit the “Browse” button to search the location to store the files and click on the “Next” option.

- Here, under the split option section, click the option according to your requirements (year, size, date, folder, email id, category).

- Apply the year range, by clicking on the “From” and “To” options and hit the “Next” button.

- Now, the user can view the splitting details under the Summary section, after that tap on the “Next” option.

- Finally, the software will display the message as “The PST Files have been Split Successfully”.

Prominent Features Offered by Tool
- The tool allows users to split the active and archive PST files
- Users can split PST files by size range of 1MB to 1TB to different small files
- Supports to insert single and multiple PST files and folders
- The software allows splitting Outlook PST file safely into multiple parts
- Divide PST documents by size, year, date, email-id, category, etc.
- Works with Windows 11 and below versions.
Conclusion
In the above write-up, we have given solutions for the most asked query i.e. “How to split Outlook PST file by year?” Users can go through the automated and manual methods to better organize their Outlook data. Do remember to create a backup of the files before executing the methods to split PST file based on year, size and date.