Outlook Data File is Not Accessible – An A to Z Guide to Fix It


Well there are various reasons, that are responsible for the Outlook data file is not accessible and if you are getting this error with your Outlook application, then here in the blog we are going to introduce reasons behind this issue and how to resolve this issue.
We all know that Outlook is one of the most used email client around the globe and there are many businesses that are dependent on it. And when users encounter this type of error, then tit totally affects their productivity.
Now, this issue is not just one user issue there are many users of Outlook facing this issue with their Outlook. In fact, many of them report this query on various platforms, Let see the user query to understand the real issue.
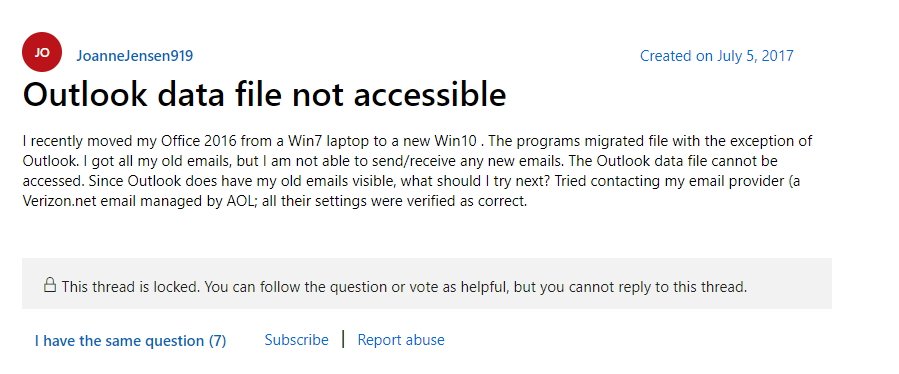
The above user query screenshot is from the Microsoft Outlook community and while our research we find that there are lots of users facing the same issue with their Outlook. Now, before moving toward the troubleshooting method to resolve this issue. Let’s first see what are the reasons for this issue.
- Reason Behind Outlook Data File is Not Accessible
- The very reason for this issue is incorrect to configure Outlook profile
- If you are facing an unstable internet connection, then you will notice this error with your Outlook application.
- The outlook data file is not accessible is also occurs when you are using the Shared Mailbox to send and receive emails.
- This error also occurs if the location of the PST file on the computer has been changed.
- If the read/write permissions of the PST file are insufficient
- Wrong configuration of the firewall or antivirus program.
The above-mentioned points are major reasons for the Outlook data file is not accessible. Now, in this section, we are going to discuss all the possible ways to resolve this error.
How to Fix Outlook Data File is Not Accessible
Method 1: Restart and Check the Internet Connectivity.
If you are getting this issue with your Outlook, then the first thing you have to do is restart your application and then the Operating system. And after that check for the internet connectivity. Now, to check the internet connectivity simply open any browser and search for any keyword if the search appears that means your internet connection is working fine. And if nothing is found, then connect to your Internet service provider.
Now, if your internet working fine and you still getting the issue then you try the next solution to fix this issue.
#Method 2: Locate The PST File
As we said above that the relocating of the Outlook PST is also be the reason for this issue. So to check this follow the below steps
1. First open the Outlook application on your system.
2. After that Select File and then click on the Account Settings after that choose Account Settings from the File menu.
3. Now, go to the Data Files tab in Account Settings
4. After that write down the name and location of the default Outlook data file
5. Once the task is completed Close the window.
# Method 3. Repair Outlook Data File
Well as we stated in the beginning Outlook PST corruption is one of the major reasons behind Outlook data file is not accessible. So after checking the internet connectivity and location of the Outlook PST file if you are still getting this issue, then there is a chance that your Outlook data file is corrupted. Now the good news is that you can remove the corruption of the Outlook data file is easy by using Outlook’s own inbox repair tools which is also known as Scanpst.exe.
Now, to use this tool follow the below steps:
Note: In order to use this tool first you have to locate the location of the Scanpst which is C:\Program Files (x86)\Microsoft Office\Office16 for Outlook 2016 and 2019
1. Once you are able to locate the scanpst.exe, then double click on the exe file.
2. After that click on the browse button to add the PST.
3. Now, click the Start button to start the scanning process.
4. Well if the scanning process identifies the issue, then click the Repair option to begin the repair procedure.
That’s it your file is repaired but this is not the end because the Outlook Inbox Repair Tool has some limitations. This utility is only capable to repair minor corruption of Outlook PST files. So in the case of major corruption, the tool is not able to fix the corruption. And also the tool si only capable to fix the header part of the Outlook PST file.

Tested Approch to Fix Outlook Corruption
As we see the Outlook inbuilt inbox repair tool is not that effective in order fix major corruption of the Outlook PST file So to make this task easy are worthy here in this section we are going to introduce it in the best Outlook PST Repair Tool that easily repairs any kind of corruption from Outlook.
Also, this tool offers the option to recover permanently deleted emails, address book contacts, and many other Outlook items from Outlook and provides an option to export the recovered data in various file formats like PST, EML, PDF, and many others.
Method 4: Make a New Outlook Profile
You may also try creating a new Outlook profile to resolve issue 0x8004010F in Outlook. In addition, Outlook allows you to create a new Outlook profile manually or automatically by utilizing an IMAP/POP3 account. The following are both methods:
1. Go to the Control Panel. After that, choose Mail. The Mail Setup – Outlook dialogue box will appear.
2. In the Mail Setup – Outlook box, click the Show Profiles option.
3. In the Mail dialogue box, click Add.
4. In the New Profile window, give your profile a new name. Then click OK.
5. In the Add Account window, enter your login information and press Next. The account has been created.
Use the Manual Procedure to Create an Outlook Profile.
7. To manually create a profile, follow these steps:
8. From the Add Account option, choose Manual setup or another server type. Then, click the Next button.
9. Select POP or IMAP from the Choose Service option and click Next to connect to a POP or IMAP account.
10. Fill up your account information under the POP and IMAP Account Settings. Select Existing Outlook Data File under Deliver messages to. Click Browse, then pick the prior account’s Outlook data file and click OK. Then press the Next button.
Method 5: Make the New Outlook Profile the Default Outlook Profile.
To make the newly created Outlook profile your default profile, follow these steps:
1. Go to the Control Panel and choose Mail.
2. Select Show Profiles in the Mail Setup – Outlook box.
3. Next, in the Mailbox, choose the newly created profile and click Properties.
4. In the Mail Setup panels, click Email Accounts.
5. In the Account Settings box, go to Data File and select Set as Default. Shut the window.
6. The new Outlook data file has been prepared, and it will now operate correctly.
Conclusion
As we said above that there are many Outlook users facing this issue with their Outlook. So, after considering the user requirement here in this blog we have discussed the top five methods to resolve the Outlook data file is not accessible. Now, go through the write-up and resolve the issue.